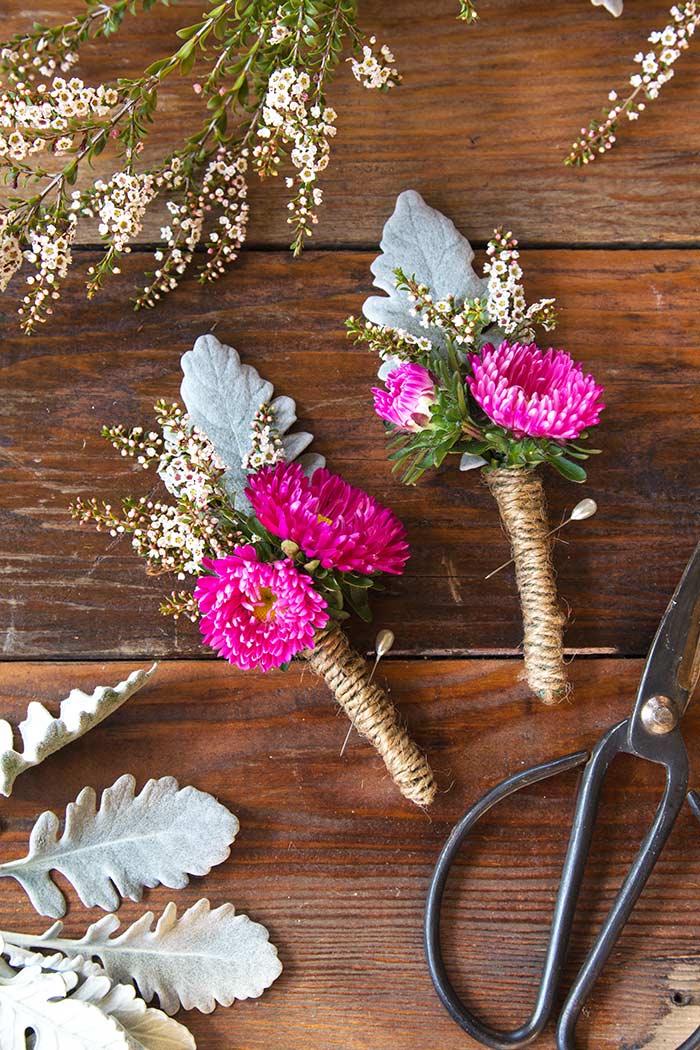
Boutonniéres add a colourful touch to the groom and his groomsmen's attire and differentiate them from other male guests. They are also a great way to incorporate your colour and floral theme into his look which will make your him look picture perfect!
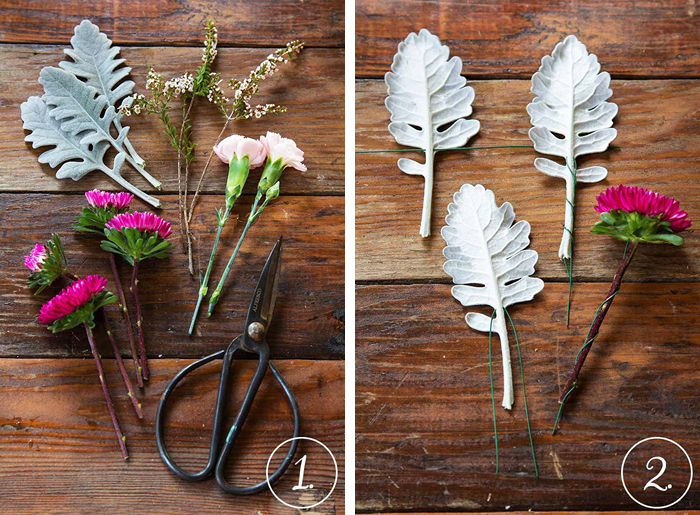
A good rule of thumb is to use three floral elements; the backing, texture and a focal flower. For this boutonniére we used Dusty Miller leaves as the backing, tea tree bush for texture and asters as the focal flower.
- Prepare the flowers by removing the leaves from the stems, leaving a 7cm bare stem.
- Cut 14cm lengths of floral wire and pierce the wire through the back of the Dusty Miller leaf. Bend it in half and cross-fold to secure. Repeat with the aster flowers, pushing the wire through the base of the flower head.
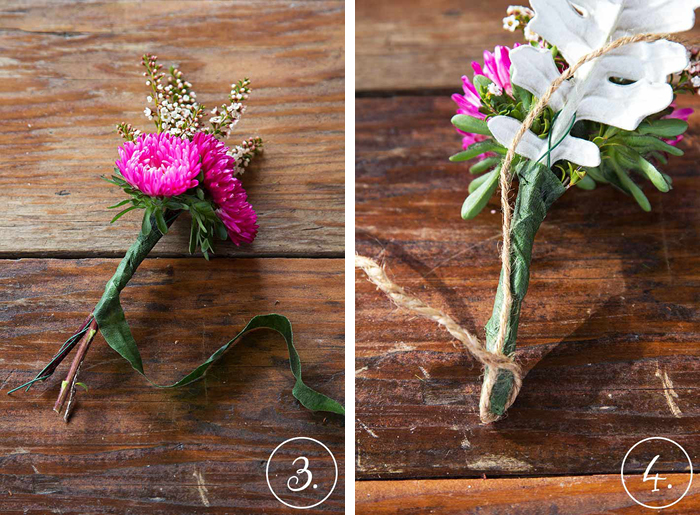
- Attach a stem of tea tree to the aster with a 20cm length of floral tape. Hold one end of the tape with your thumb and with the remaining tape stretch and wrap it diagonally around the wired stem to join the two together. Place the backing leaves and taped flowers together and wrap the stems together with another length of floral tape to secure.
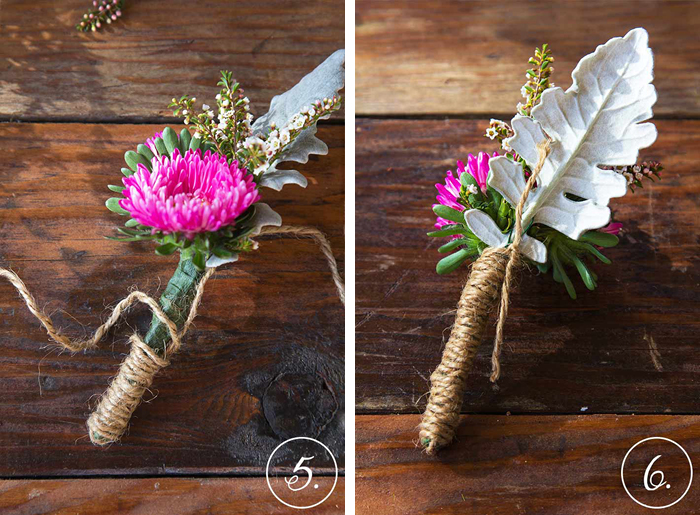
- To cover the tape, use a 70cm length of string. Line the string up along the length of the boutonniére leaving about 60cm which will be used to wrap around the stem from the bottom up
- Keep wrapping until the stem is completely covered.
- Tie a knot at the back of the boutonniére with the remaining piece of string.
Viola!
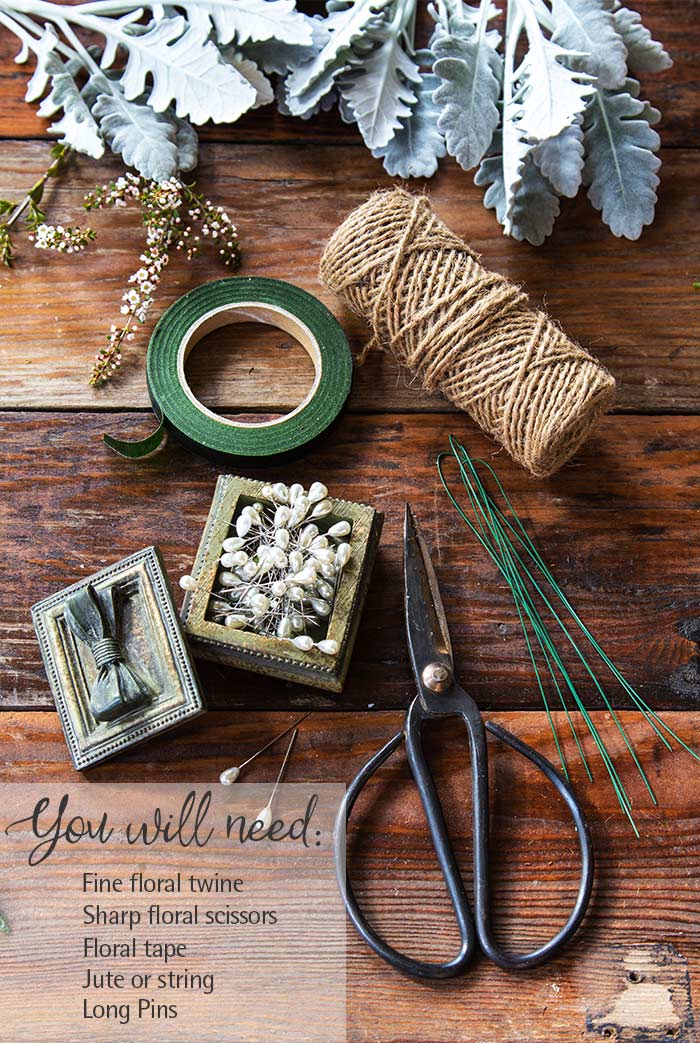
Attach the boutonniére to the left lapel of the suit or just about the heart. Secure the boutonniére with a long pin from the underside of the lapel. You can even adapt this DIY to make matching corsages by following the same steps and adding some extra pretty blooms to make them larger! #floralfun!
If you love to get your craft on, be sure to check out the latest issue of Modern Wedding DIY magazine which is full of creative, unique and ecclectic DIY ideas for your wedding!
MW x

