The celebrate the upcoming release of Modern Wedding DIY we asked editor, Gail MacDiarmid, to share a DIY project to get those creative hands and minds moving!
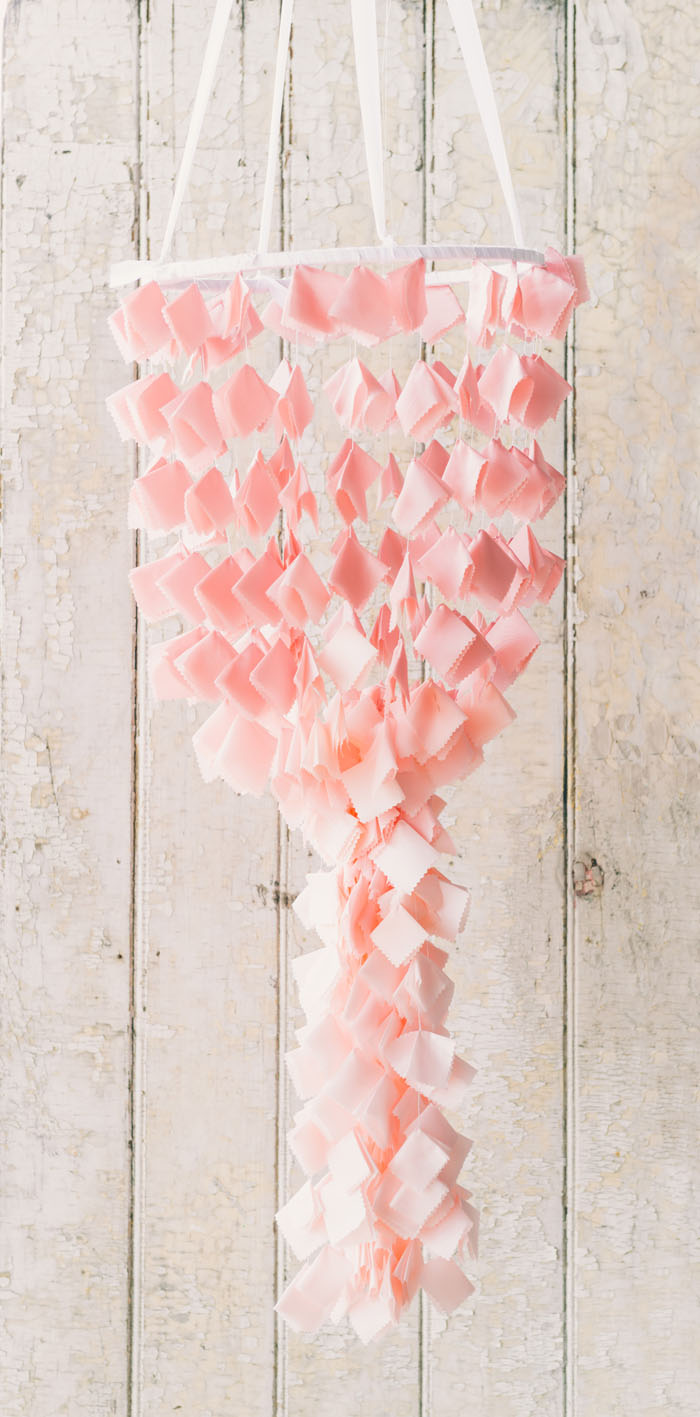
The next issue of Modern Wedding DIY is due out on the 3rd November. Titled 'The Pretty Issue', it is overflowing with the most gorgeous, inspirational ideas and projects. When putting together each edition, it can be difficult fitting everything in, and often there are projects that sadly don't make the magazine. One very pretty project I particularly loved was this silken chandelier. No particular skills are required to craft this stunning decorative item, but just imagine how divine one, or several, of these would look hung over your bridal table. I enjoyed making it; I hope you do as well.
Gail x
OMBRE SILKEN CHANDELIER
Materials
- 3x1 metre lengths of polyester/ acetate lining fabric each in a different shade of pink
- Glass head pins
- Pinking shears
- Nylon thread or fine crochet cotton
- Long needle
- Embroidery hoop 40cm in diameter
- Cotton tape
How to create
1. To create the ombre effect, start with the darkest shade at the top followed by the mid tone and finish with the lightest shade at the bottom.
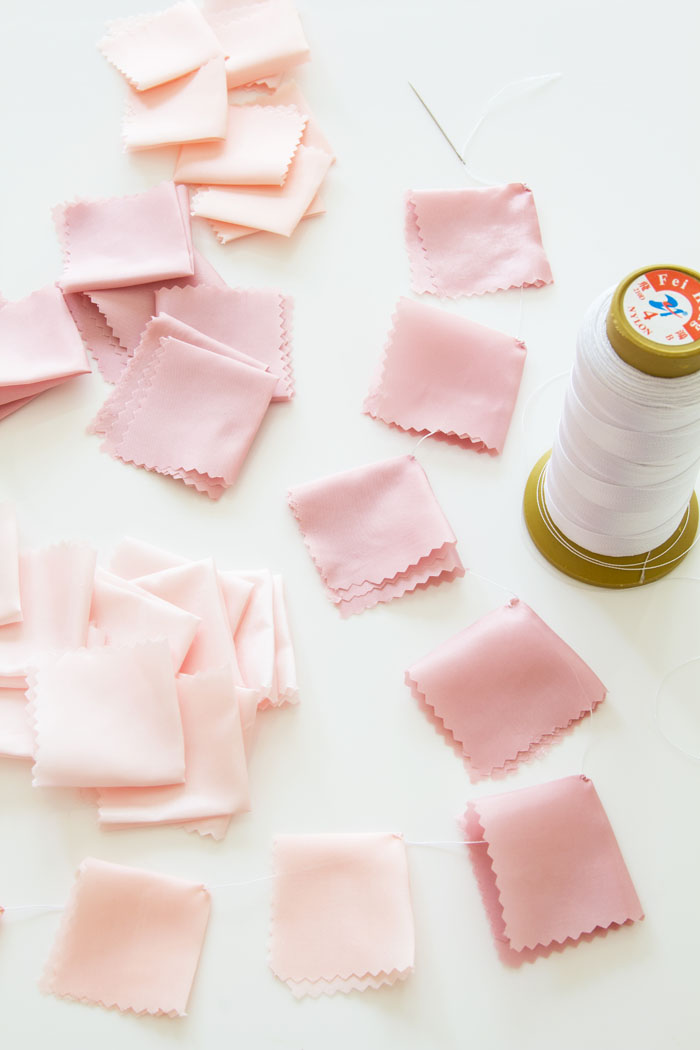
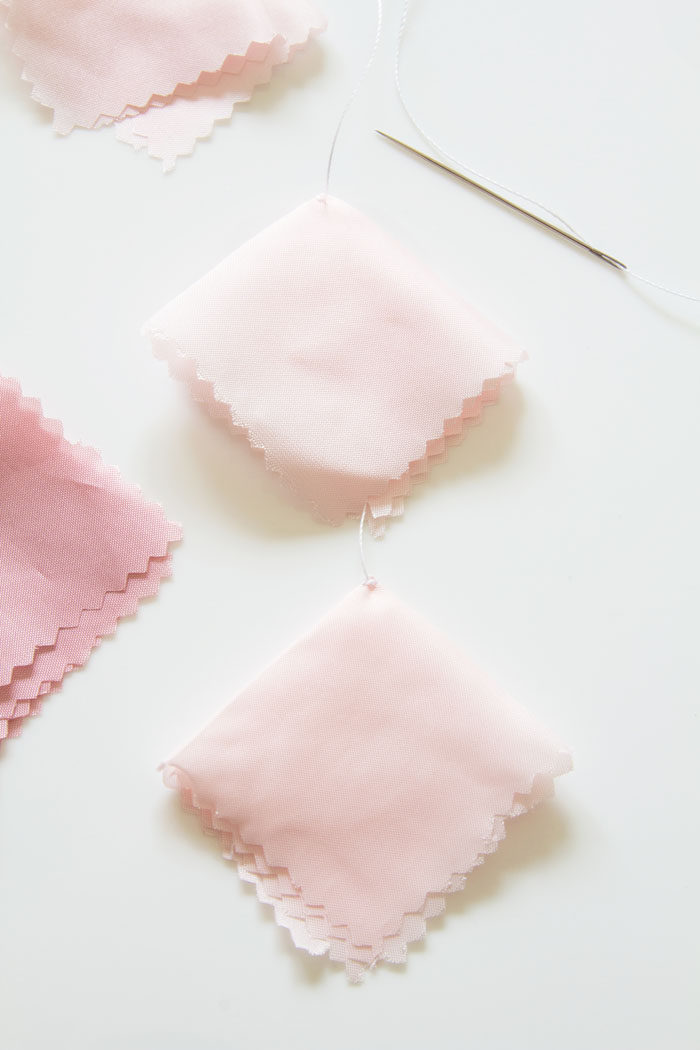
2. Using the pinking shears, cut the darkest fabric into 10 cm squares, the mid tone fabric into 9.5cm squares and the lightest coloured fabric into 9 cm squares.
3. Fold each square into quarters and press with an iron You will need five dark, five mid tone and four light squares to make a metre long strand. To speed up the assembly, divide the fabric squares into the various shades before starting to sew.
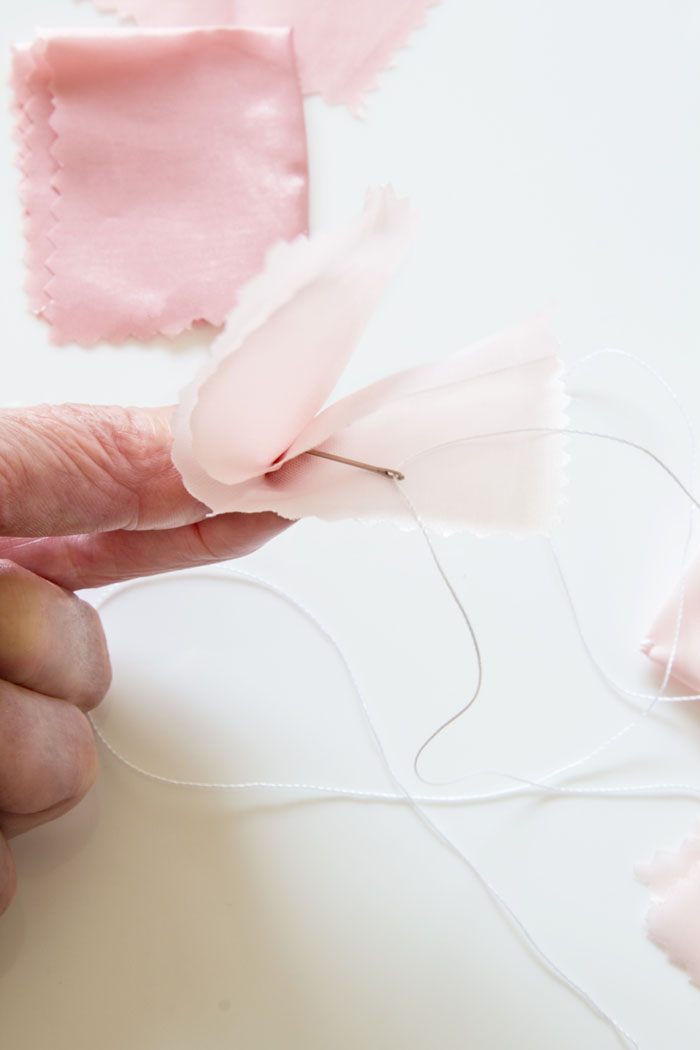
4. To begin, thread the needle with 1.5m nylon thread and make a double knot on one end. To anchor the thread, open a folded square and sew a double stitch in the centre of the centrefold. Return the fabric to the original square shape and sew another double stitch to hold the fabric in place.
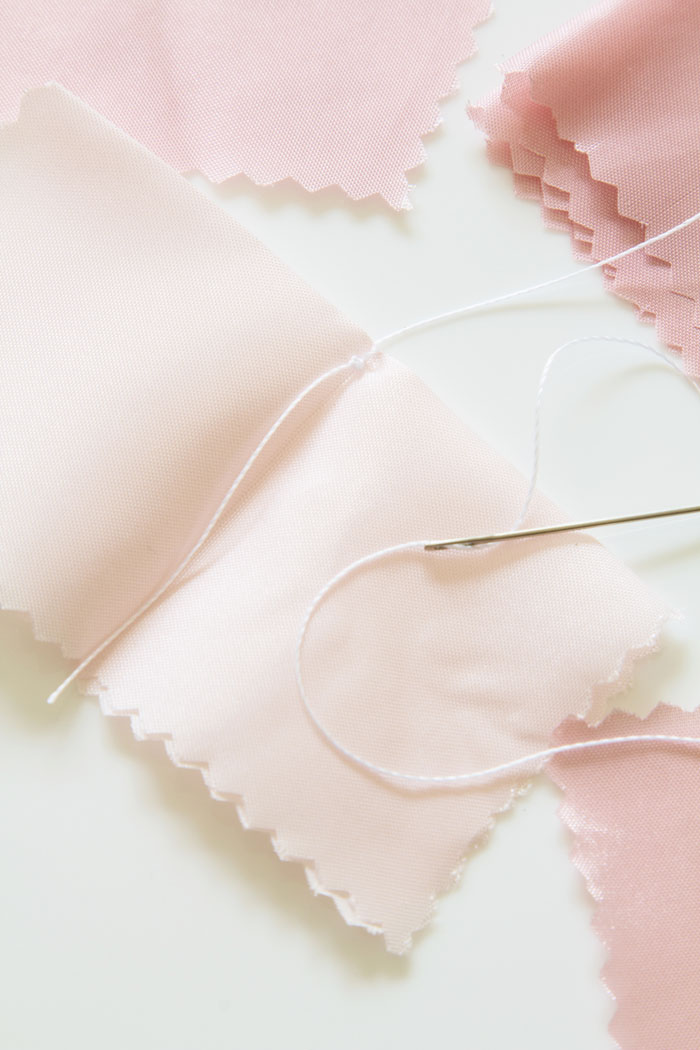
5. Thread the next square onto the needle inserting the needle through the layers. Sew a double stitch to secure in position leaving a one to two cm gap between each square. There should be 14 fabric pieces to each metre length.
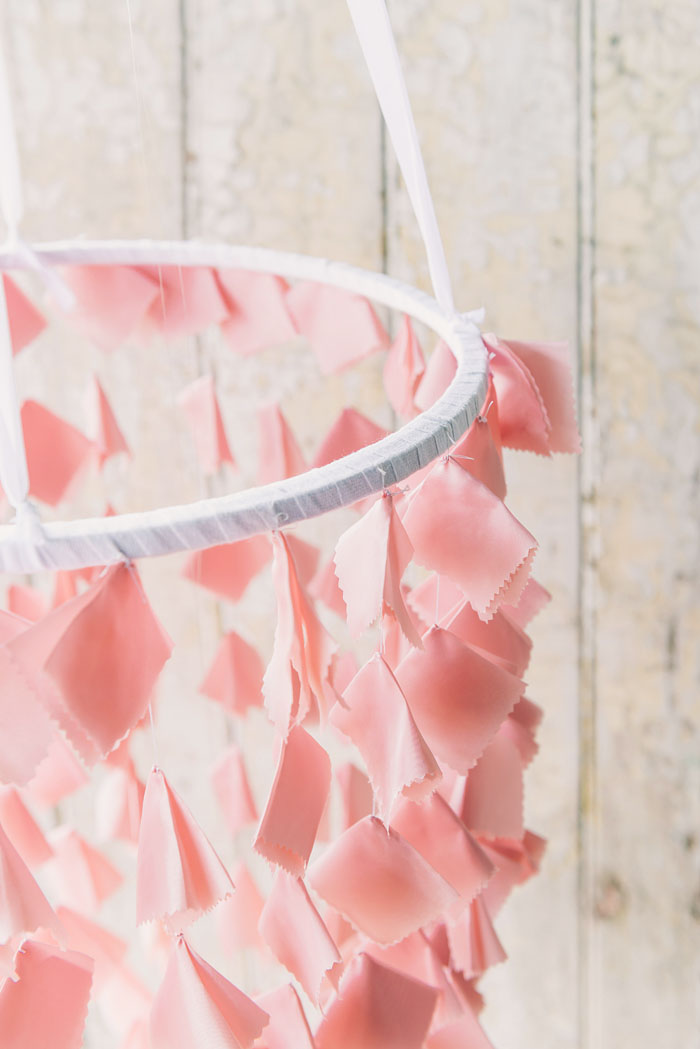
6. Once the fabric strands are assembled, wrap the embroidery hoop with cotton tape and sew the ends together with a needle and thread to hold in place.
7. Stitch or tie the ends of the fabric strips to the hoop approximately 5cm apart. To shape the chandelier, tie the strands together at the centre with a piece of thread.
8. Tie four lengths of cotton tape to the hoop to hang.
Note: The above instructions are a guide to recreate the image shown. The instructions for assembly can be used to create your own design and effect by varying colours, shapes and arrangements.
Photography by www.janeallenphotography.com.au