MW-Logo_#white
Menu
  • Find A Supplier
  • Blog
  • Galleries
  • Categories
  • Wedding Dresses
  • Real Weddings
  • Wedding DIY
  • Honeymoons
  • Magazines
  • Wedding Planning Tools
  • Advertising With Us
  • Login

Tips and Articles by category

Dresses
Cakes
Flowers
Honeymoon Ideas
DIY
Photography
Venues
Wedding Themes
Invitations
Wedding Ideas
Music
Videos
Wedding Hair and Makeup Ideas
Cars
Destination Weddings
Speeches
Gift Registries
Wedding Favours
Grooms

FIND A LOCAL WEDDING SUPPLIER

Reception Venues
Dress Retailers
Dress Designers
Cakes
Photography
Bridesmaids
Flowers
Video
Hair
Theming and Styling
Entertainment and Music
Makeup
Ceremony
Celebrants
Rings
Cars, Transport
Invitations
Bridal Accessories
Destination Weddings
Gifts and Gift Registries
Shoes
Accommodation
Honeymoons
Beauty Services
Hire
Hens & Bucks Parties
Flowers Girls/Page Boys
Caterers
Bomboniere
Alternative Bouquets
Planner
Photo Booths
Formal Wear
Speciality Services
Finance
Groom and Groomsmen
Grooms and Groomsmen

DIY Pompom Place Cards

Modern Wedding Posted: December 6, 2017

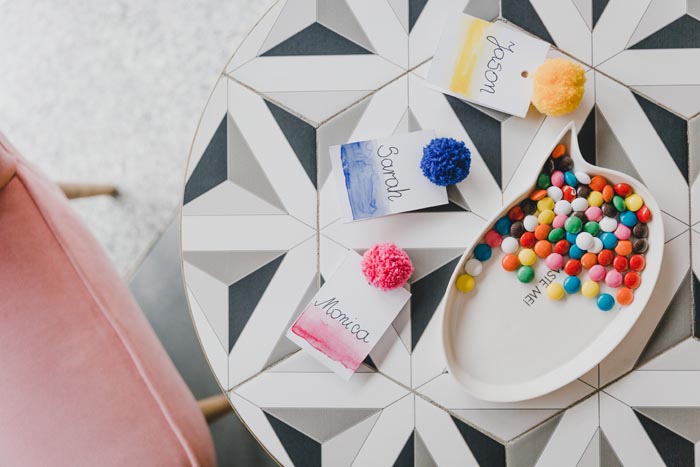
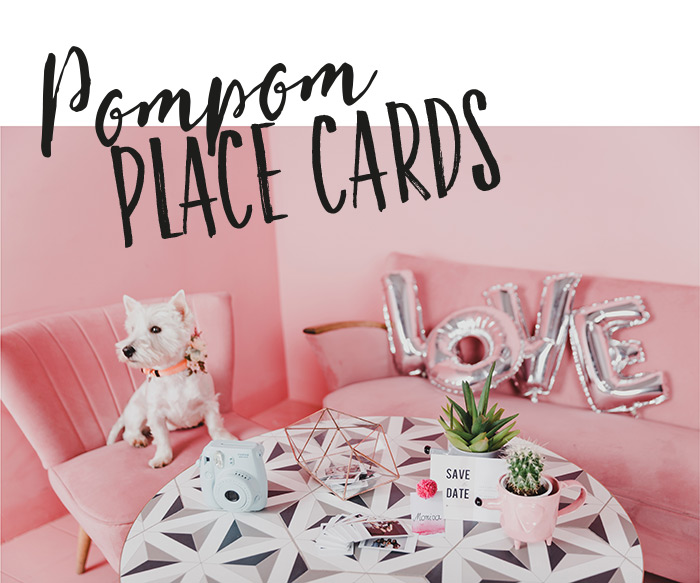
Pompoms are a crafty, cool addition to brighten up your place cards! Learn how to make our Pompom Place Cards for your wedding, bridal shower or engagement party. You could test them at your Christmas Party too!

How to make Pompom Place Cards

Add a touch of individual style to your wedding with these fun and festive place cards. They’re colourful and creative!

You will need:

  • White cardboard sheets
  • Yarns in different colours
  • Stanley knife
  • Metal ruler
  • Watercolours
  • Paint brushes
  • Marker
  • Scissors
  • Fork
  • Hole Punch

How to make pompom place cards:

Step 1

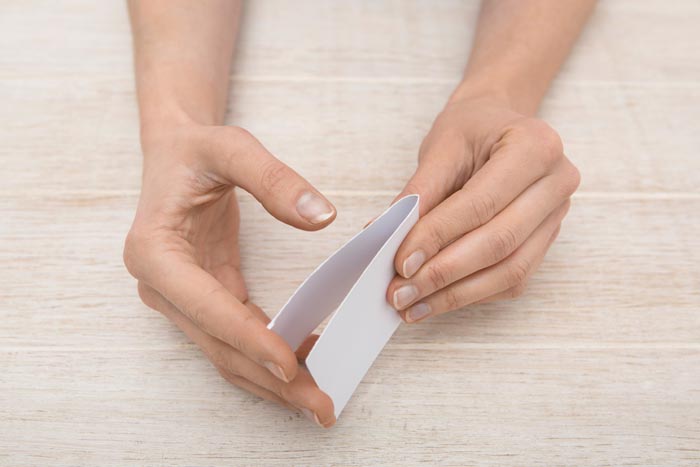
Cut the cardboard into strips 6cm wide and 24cm long, and fold in half.

How to make Pompom Place Cards step 1

Step 2

Paint a small strip on one end of the cardboard with watercolours. Go over the painted edges with a brush soaked in water so that the colour fades nicely.

How to make Pompom Place Cards step 2

Step 3

Punch a hole through both sides of the folded card and handwrite each guest’s name.

How to make Pompom Place Cards step 3

Step 4

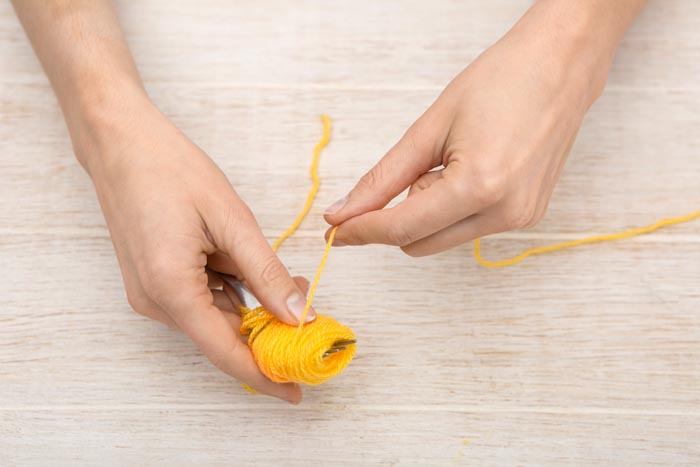
Wrap the yarn around a fork. The amount of yarn you use will affect how thick the pompom will be. Remember to leave a longer piece at the start and finish, so you can attach the pompom to the card. Tie the yarn tightly in the centre of the fork and cut both ends. (You may need to shape the pompom a little into a nice spherical shape.)

How to make Pompom Place Cards step 4

Step 5

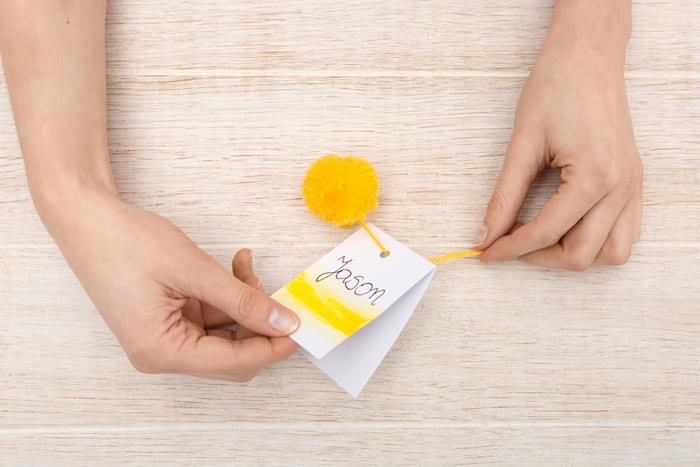
Tie the pompom through the hole and knot it to hold in place.

How to make Pompom Place Cards step 5

Et voila! These Pompom Place Cards are an easy way to add colour to your tables and are really easy to make. For more fun and easy wedding DIY projects, take a look at the DIY section of our blog.

diy wedding place cards project

Previous Blog
Next Blog

Find a wedding supplier

OR

Let’s be inbox official!

Wedding obsessed? So are we! Become a Modern Wedding Muse to have updates delivered straight to your inbox plus receive exclusive offers from our suppliers!
  • like us on facebook
  • follow us on instagram
  • follow us on pinterest
  • MagSlider-SH4
  • MagSlider-Cakes20
  • planner-12
  • MagSlider-DIGIM74update
  • luxury-9
  • MW-78
  • DIY7
  • flowers-17
  • h&B12
Colour Wheel

Your next read!

We’ve Created The Best Christmas Playlist Ever

MW Quiz: Which Christmas Movie You Should Watch?

Christmas Gifts For Her

Popular Galleries

  • Real Weddings
  • Dresses
  • Cakes
  • Flowers
  • Theming & Styling

From Our Blog

  • Real Weddings
  • Wedding Fashion
  • Wedding Themes
  • Wedding DIY
  • Wedding Hair & Beauty

Wedding Tools

  • Seating Plan
  • Guest List
  • Check List
  • Budget

ModernWedding.com.au

  • Wedding Tools Login
  • About
  • Advertising Information
  • Contact
  • Sitemap
Modern Wedding

Copyright © 2021 Modern Wedding PTY LTD. All Rights Reserved. Website by The DMA.

  • Sitemap
  • Privacy Policy
  • Contact

Our other brands: Luxury Wedding Blog / Sydney Wedding Blog