How to shine bright and make your own light-up love sign
We LOVE these light-up love signs. They are a lovely gift for a loved one, a sweet decoration for the house, engagement party or wedding day. Follow these steps to make your own super easy DIY light-up love sign.
Materials
- Four black A3 foam boards
- Five sets of 20 bulb LED
fairy lights - Craft knife
- Ruler
- Power drill
- Adhesive tape
How to create
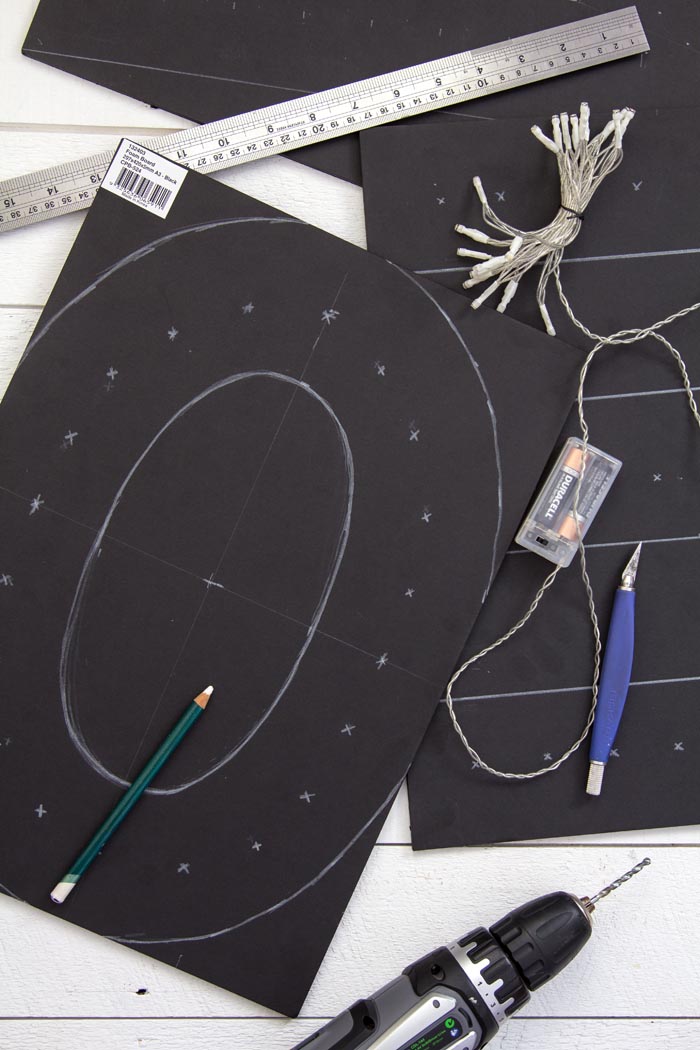
Use the best side of the boards for the front. Draw the letters in a light coloured pencil on the back of the boards remembering that the letters ‘L’ and ‘E’ will have to be drawn in reverse. Each letter is approximately 8.5cm wide and the full length of the board high. At the same time, mark where each bulb is to be placed. Ours were approximately 3.5cm apart. Image 1.
Cut out the letters with a craft knife or scissors.
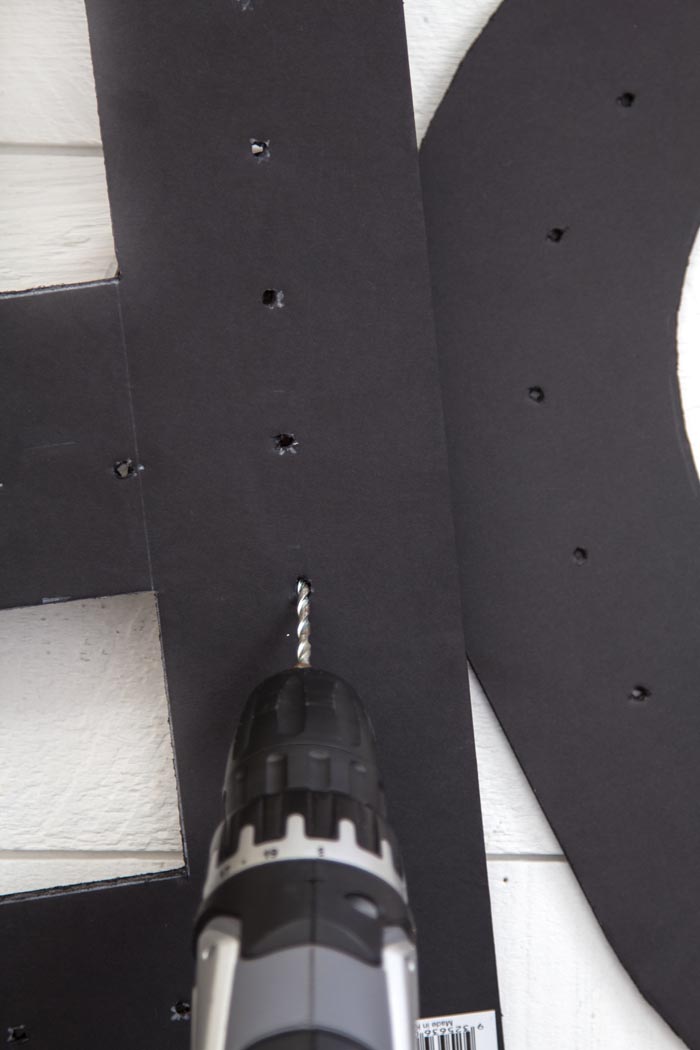
Drill the holes big enough to hold the bulbs firmly in place. Image 2. If you do not have a drill, make the holes with a screw driver.
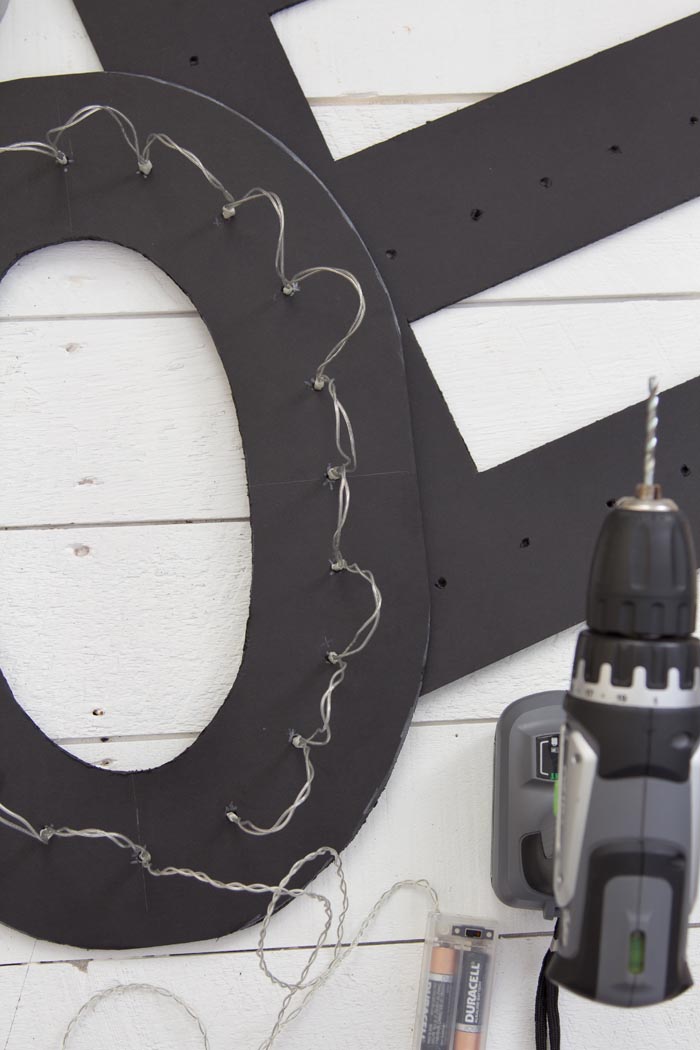
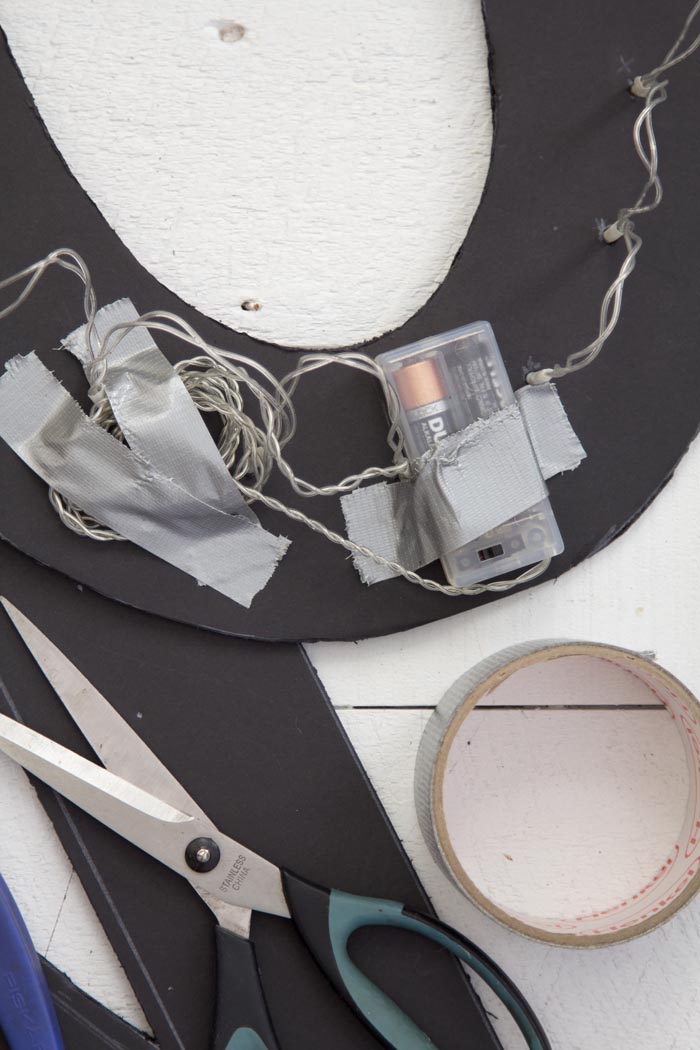
Insert the fairy lights. The letters L, O and V require one set of lights. The letter E requires two sets. Place the letters in position and tape a battery pack to the back of each board. Image 3 & 4.
Note: Black foam board can be purchased from www.eckersleys.com.au and fairy lights from hardware stores or online.
Hot idea: If you don't want a light-up love sign why don't you try making light-up initials for you and your fiance!
We love to see you putting our DIY ideas into action - tag @modernweddingmagazine in your Instagram posts and #modernweddingmagazine!
For the newest DIY projects and handmade ideas check out our latest magazine available at select Woolworths, Coles, newsagents and online!
